Cultivation of Gasterias from Seed
Author: Breck Breckenridge, the former owner of gasteria.org
Biography
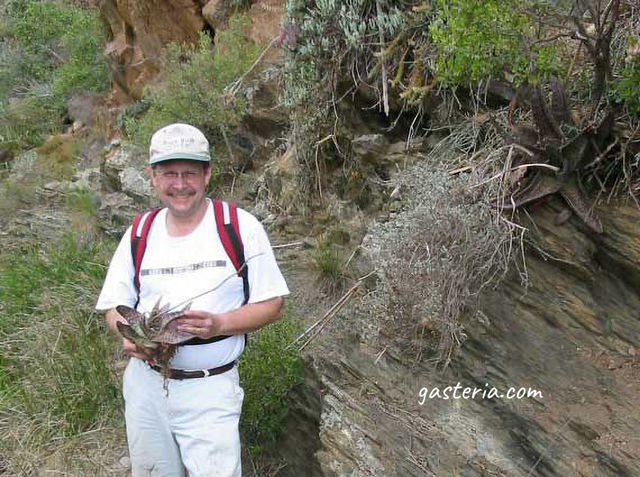
Frank “Breck” Breckenridge is the former owner of gasteria.org from 2000 to roughly 2007. He began to grow Gasterias as a hobby in 1996 when he lived in Tucson, AZ. He later received Schwartz Travel Grant from CSSA for the study of succulent plants abroad. In March 2004, he spent 3 weeks in the Western and Eastern Cape Provinces of South Africa studying Gasterias in their natural habitats, guided by Ernst J. Van Jaarsveld. After the travel, he moved to Spokane, WA and continued maintaining a reference collection of Gasteria. Besides publishing his travel reports in CSSA journals (Vol. 77-5), he also wrote a short article “Cultivation of Gasterias from Seed”.
Gasterias from seed
Raising Gasterias and Haworthias from seed (or any kinds of succulents for that matter) can be a very rewarding and satisfying experience. Often, desirable species are not available as plants but can be acquired as seeds. And purchasing seeds is much less expensive than buying a fully grown plant. The only problem is that sometimes it is difficult to grow plants from seeds if one is not well-versed in the techniques. I often hear tales of trouble germinating seeds and/or keeping seedlings alive. Here’s how I go about raising plants from seeds. Keep in mind that there is no substitute for experience. And also remember that I am still learning how too!
Containers for sowing Gasterias seeds
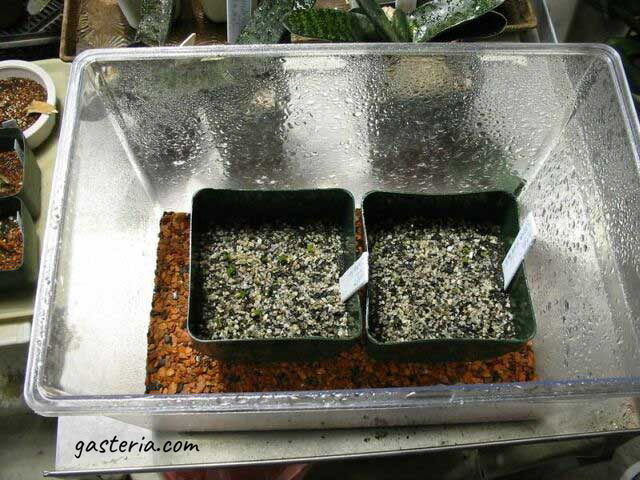
Once I used very shallow containers such as Stouffer’s frozen dinner trays and salad boxes from Kentucky Fried Chicken. These were on average about 1″ to 1½” (3-4 cm) in depth. But Steve Hammer convinced me to try using plain old square plastic pots, the 3″ wide by 3″ deep kinds. This gives added depth to the seed bed.
Soil mix for Gasteria
Here’s the formula for proportions:
- 2 parts potting soil sieved/screened through 2-4 mm. screen (eliminates the large pieces if any and also breaks up clumps)
- 2 parts pumice or perlite also screened through 2-4 mm. screen (pumice preferred).
- 1 part coarse, sharp sand (not fine “builder’s sand), with particles not greater than 2-4 mm.; some fines are ok.
Once all this is mixed together in a quantity you will need for however many containers you are going to sow, make sure the mix is damp (not wet!). Place in microwave oven or conventional oven to sterilize. I leave in microwave for 3-5 minutes depending on the strength of your microwave. Leave in conventional oven at 300d F for 30 minutes. After heating you may need to spray the mix with some water to get it slightly damp again. This should produce some very sterile, good potting soil for seed sowing. Then put mix into your containers (I continue to recommend the type of container shown on my website). Settle soil mix by tapping container on its bottom.
Sowing
Then gently sow seeds on surface of soil, distributing them evenly. Next take some smooth, flat object to tamp down the soil and seeds–be gentle. We just want to get the seeds in good contact with the soil. Then place the container(s) in saucer, etc. Add water enough so that water level covers the holes in base of container. We want capillary action to work to water the soil mix from below. Watch this carefully an when you see water beginning to show on the soil surface, take containers out of water. Then with fine water spray, spray surface of soil.
Next, “sprinkle” some of the coarse sand you used in the mix, but be sure there are no “fines”. Just particles 2-4 mm. You are adding just enough of this sand to BARELY cover the soil mix surface and seeds. (This sand will help to steady the seedlings as they emerge). Spray soil surface with coarse sand “mulch” again with fine water spray.
Aftercare
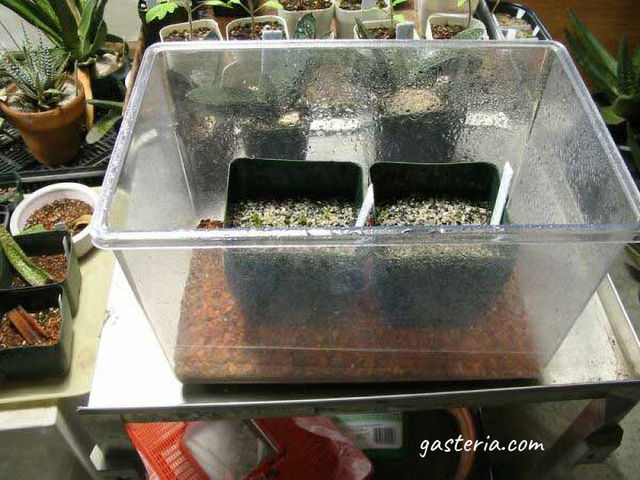
I put the now sown pots in a plastic bag(s), or you can use an old aquarium, or some of those transparent shoe boxes or whatever. Just be sure the pots are in a high humidity environment. Check the pots daily to be sure that the atmosphere inside isn’t so wet that you get heavy condensation build up. If this is the case your soil mix is too wet and you will need to vent the enclosure a bit to allow moisture to escape. What you are shooting for is just a thin layer of condensation on the inside walls. At some point the moisture will evaporate from the soil mix itself and this can happen even if you still see a moisture film on the enclosure walls. You need to periodically spray the seed bed with a fine mist of water until the water percolates down into the soil mix. After doing this the condensation will increase again. Just vent it some as before, to control it. Keep the container in bright light (not full sunlight) and have the temperature in the day around 80°F (26°C). At night it can fall to the high 50’s or low 60’s (14°16°C) if necessary, and this may even benefit some species that come from winter rainfall areas, such as Gasteria disticha and pillansii. Some people claim that this difference in temperature between day and night is good for the germination of all the species.
Germination Results
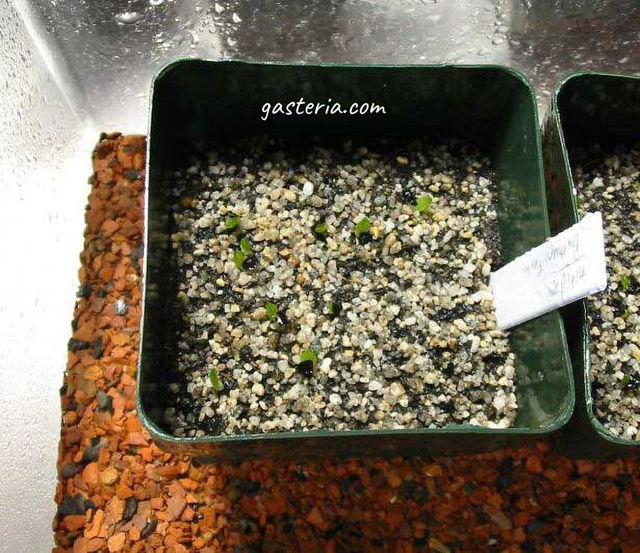
If the seed is good quality with good viability, it should/could germinate in as little as 8 days. If they take longer to germinate, allow at least a month before calling it quits. If it is high summer and very hot give it even longer! Say put the seed pot away til Fall and then try again.
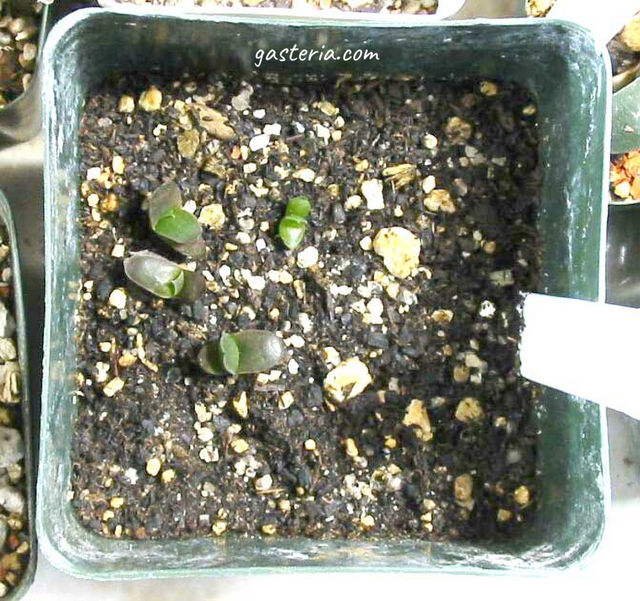
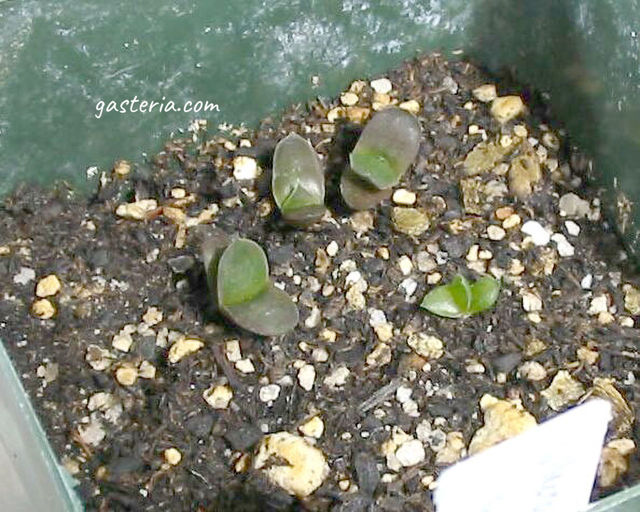
These Gasteria nitida seedlings were sown in early May 2005.
After Germination Care
When the seedlings in the enclosure have developed 2 true leaves, you can begin to slowly, gradually remove lid or cover to allow more drying. As the seedlings develop more leaves you can introduce more dryness, including removing entirely the top of the humidity chamber. Be sure that when you do this you mist the seedlings twice daily! to keep the soil surface damp. As the seedlings continue to develop and grow you will know when to finally take them out of the humidity chamber and set them on the growing bench. Continue to mist daily once or twice. Maintain the bright, indirect light and temperatures given above.
Special Cautions
Despite the best efforts of the soil manufacturer or your own efforts at soil sterilization, nasty critters and diseases can still become a problem. If you begin to see little tiny critters running around the surface of the soil you have the dreaded fungus gnat (Sciarid flies). Immediate action is required! Use Gnatrol to kill the larvae that you can’t see, but which are still in the soil. You can also use the milder insecticides as a soil drench. If you get algae growing on the surface of the soil you can use an algaecide rated for use in goldfish bowls/tanks which is not toxic to wildlife and other living creatures.
Afterward
Seedlings grow rather slowly at first, so be prepared to be patient. However, I have noticed that the seedlings tend to suddenly get established for some unknown reason and then they begin to grow much more quickly. Once you have reached this point, your long term success is almost certainly assured!
After a year your once tiny plants should begin to start looking like real individuals. Depending on the species, they will not start to look like the adults until several years later but you have the beginnings of some really nice plants. Enjoy!
